Welcome
Welcome to Flamboyant! It seems you had found my little paradise! Feel free to look around! This high quality graphics site has all your anime basic needs. Including layouts, wallpapers, avatars, png's and more.
Search
Content
Shout Box
Quick Links
Photoshop Layout 001
Here you will learn to make a basic image, to make a basic Div layout.
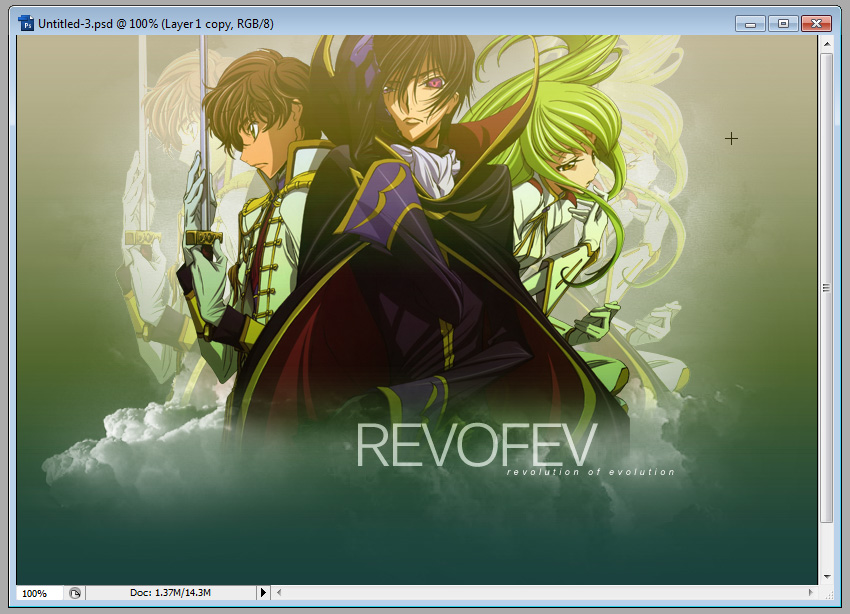
- First pick an image, I prefer an png. Here I used an Code Geass image from Kuusou(http://kuusou.hayalkarga.com/).
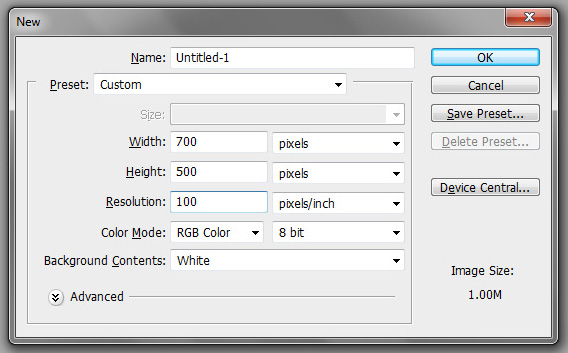
- I usually start a canvas of 700x500px with a resolution of 100.
- Its nice to start off with a background color close to the image, so when using textures it won’t
throw the colors off. - But here I’ll use a gradient. Play with the type of colors.
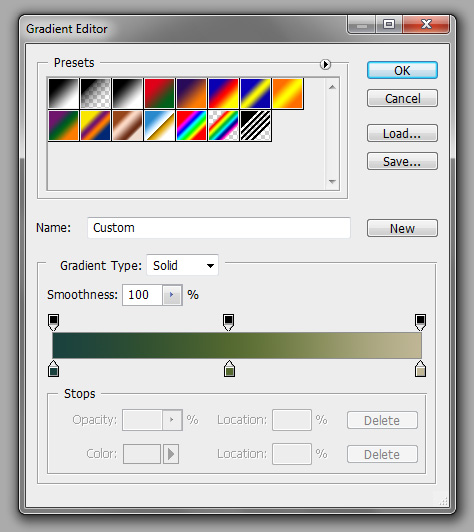
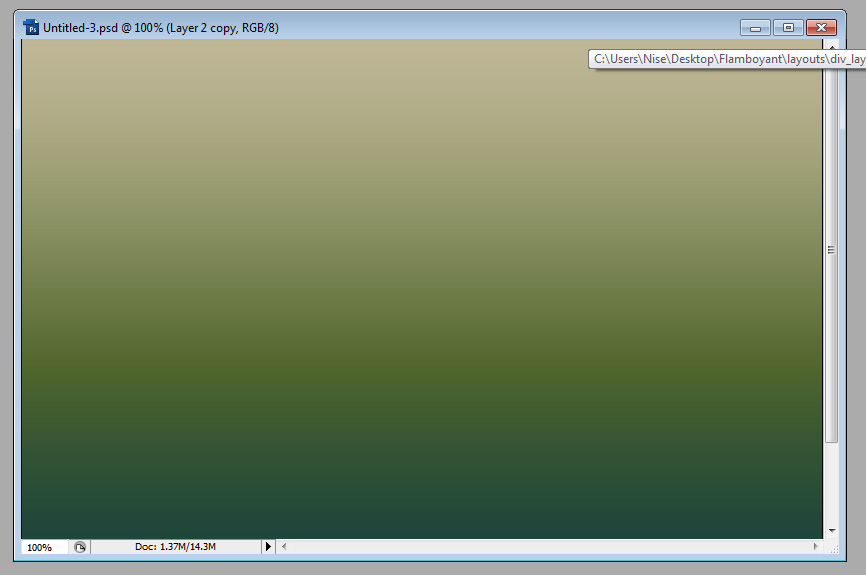
- So this gradient is going to be my background. Make sure to save it. You’ll need it to make the layout.
- Now I figure what type of layout I want this to be tables, div, or frames. Since where doing div, now I figure
out how I want it to be set, left, right middle, or off set. This layout will be set in the middle. So i center
the png.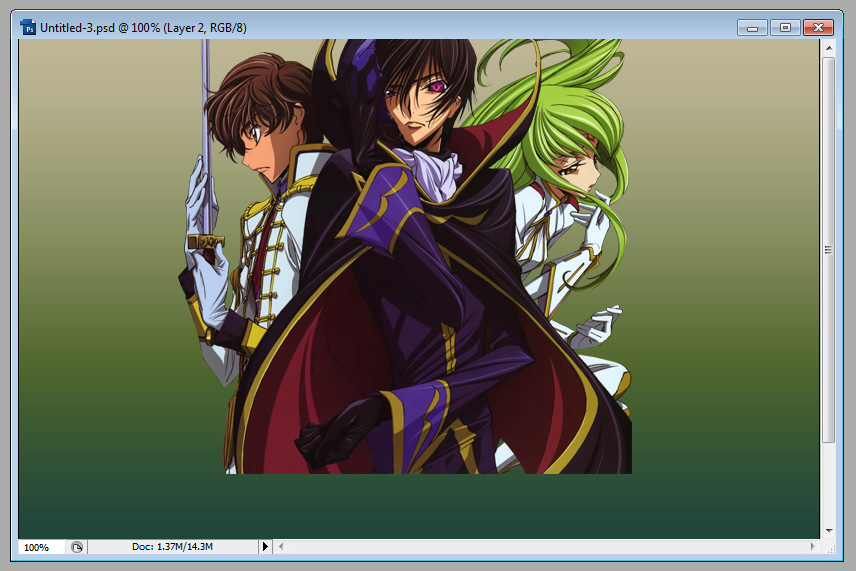
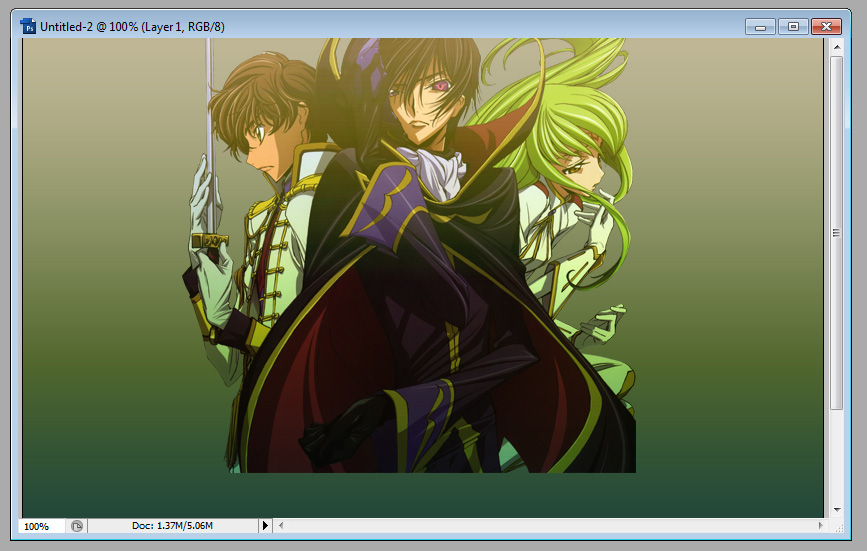
- So now I want to give the image the same feel of the background so I duplicate the background place that layer
on top of the png and set the duplicate background to Hardlight 100%.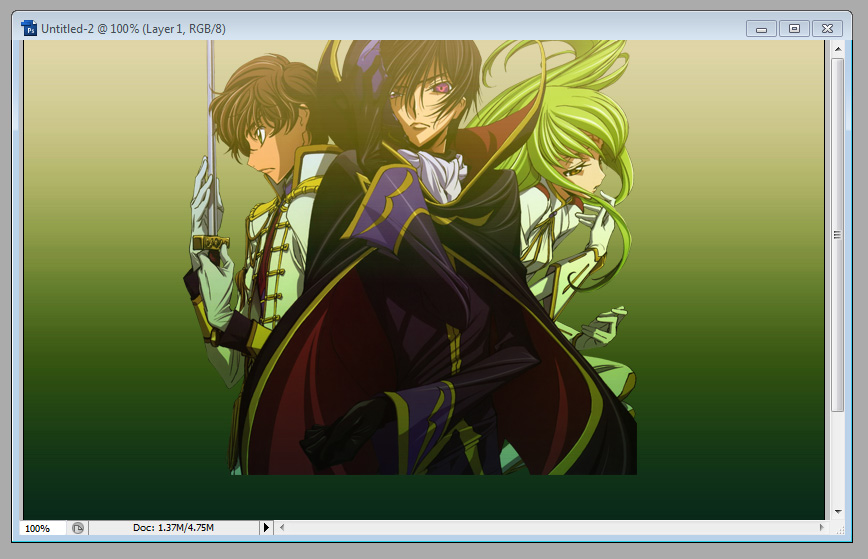
- Now I really don’t like the background that color because of the duplicate layer. But I like the effect it had
on the image so, to get rid of it im going to use the select tool, and select the empty space on the png layer.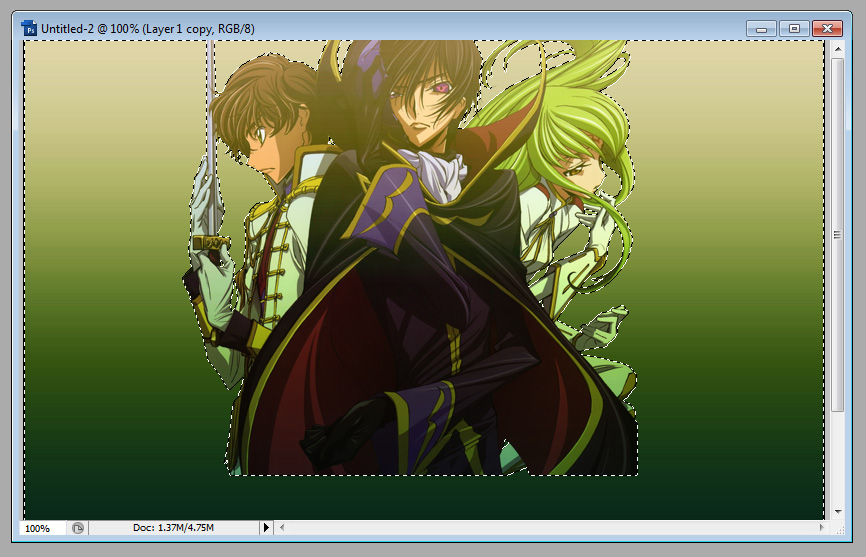
- Then go to the duplicated background, the top layer, without deselecting anything, and hit delete.
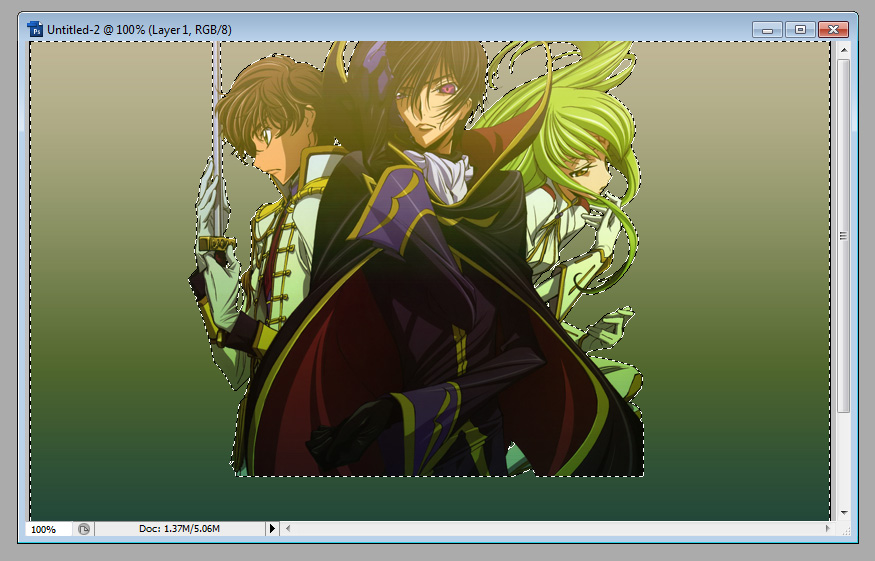
- Now Deselect it. Im back to my original background, but the effect is still on the png.
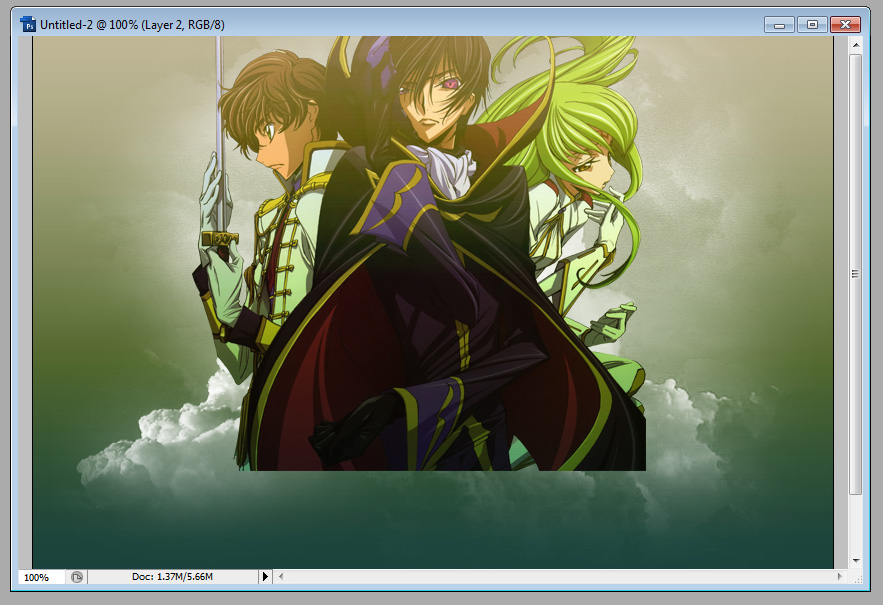
- Now I want to play with some brushes. I have cloud brushes you could get some from devianart. (I can’t remember
where I got mine.) - So I make a new layer under the png and place some clouds on there.
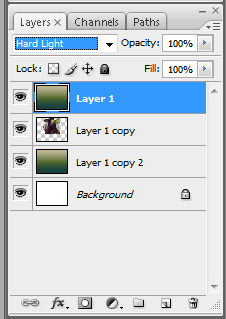
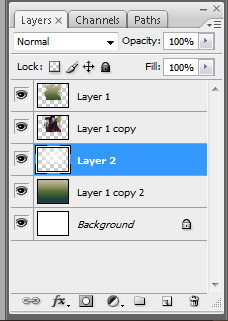
- Your layers should look like this. If not you did something wrong. I don’t name my layers but you can if you wish.
- Now Duplicate your top layer 2 times, and the png 2 times. So now You should have 3 of each.
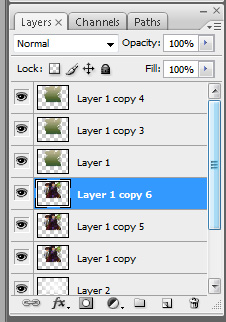
- Rearrange them so that there are in pairs, a png with the cropped background.

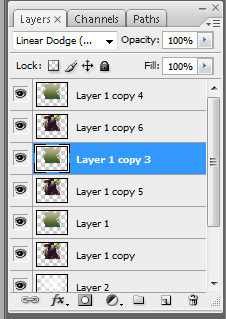
- Change the bottom 2 cropped background properties to linerdodge 100%.

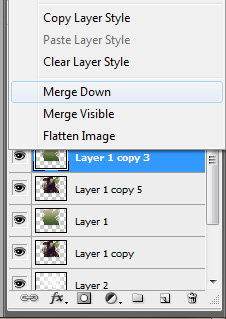
- The bottom 2 cropped background images your are going to left click and select merge down.
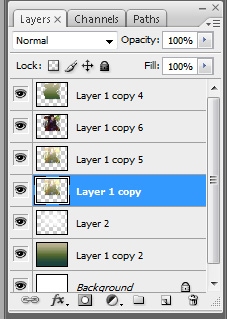
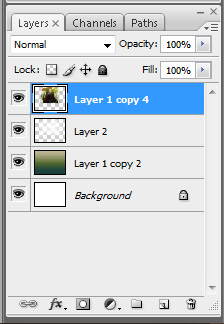
- Your layer box should look like this now.
- Now the 2 merge layers can now be pulled out from behind the main png. Pull one layer to the right and the other
to the left, so that they are peeking from behind. Then change the opacity of them to 50%.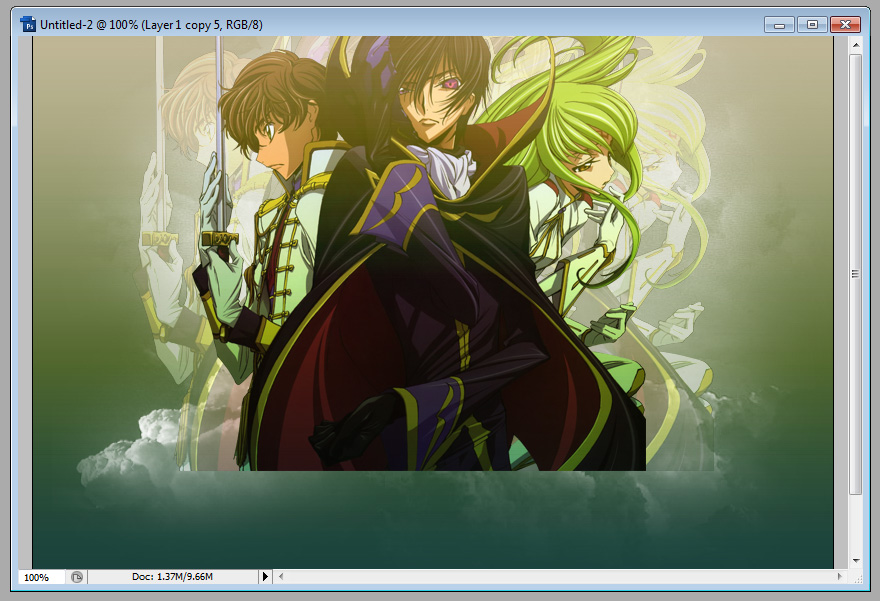
- Now select the top layer and the layer right before your cloud brushes while holding shift. So all 4 layers are selected together.
Then Left click and hit merge layers.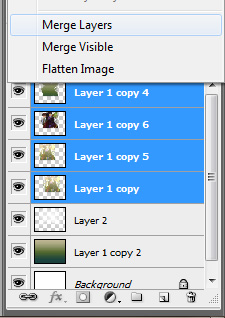
- Layer box should look like this.
- Now I take the rectangle marquee tool, change to the feather to 15% and select maybe an half of inch or so of
the top layer and press delete until the bottom is faded out.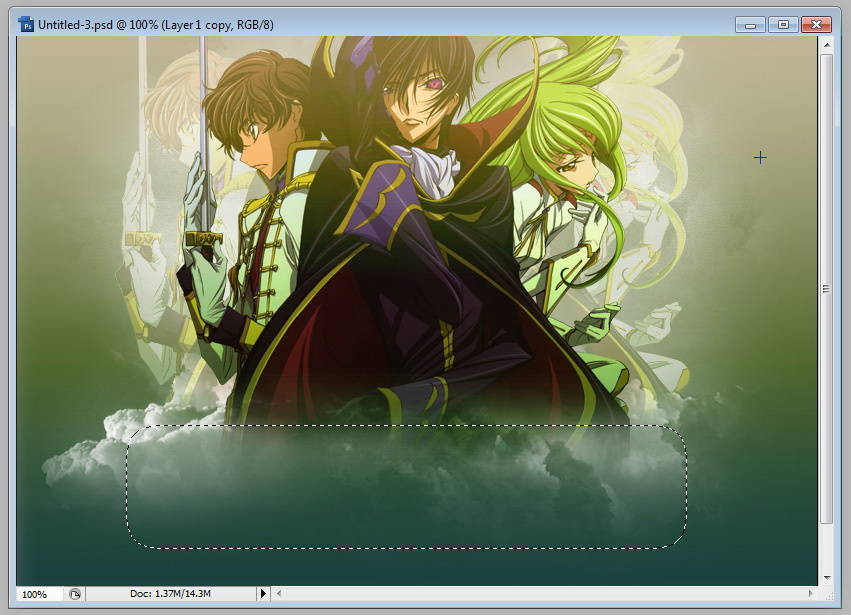
- Now your image should be like this.

- Now your all finished you can add text and tada! Your layout, for coding it please click here for Div Layout Tutorial 001.